 how-to
Preventing Moisture in Storage Units: A Step-by-Step Guide
Table of Contents
- Why Moisture Control Matters in Storage Units
- Step 1: Assess and Diagnose Moisture Sources Before Storage
- Step 2: Clean and Dry Items Before Packing
- Step 3: How to Pack Items to Prevent Mold and Moisture Damage
- Step 4: Choose Moisture Absorbers for Storage Units
- Step 5: How to Prevent Mold in a Storage Unit with Dehumidifiers
- Step 6: Climate-Controlled Storage for Moisture Protection
- Step 7: Ongoing Monitoring and Maintenance During Storage
- Frequently Asked Questions
Last Updated: October 5, 2026
Why Moisture Control Matters in Storage Units
Moisture damage destroys stored items fast, mold, mildew, rust, warping, and musty odors can render belongings unusable within weeks, making preventing moisture in storage units essential.
It worsens in humid climates and seasonal changes: warm air meets cold unit walls, condensation forms, and mold thrives, warping furniture, rusting metal, shorting electronics, and ruining documents.
The good news: preventing moisture in storage units is entirely achievable with a clear plan and consistent execution, not expensive equipment.
Step 1: Assess and Diagnose Moisture Sources Before Storage
Before packing a single item, diagnose your moisture situation. Skipping this step costs people dearly later.
Check humidity levels in your storage unit
Humidity targets matter. Keep storage humidity between 30-50 percent. Above 60 percent, mold grows; below 30 percent, wood cracks and leather dries out.
Buy an inexpensive digital hygrometer (under $15). Place it in your unit for 24-48 hours before moving items in. This tells you your baseline moisture level.
Check it again after storing your belongings:
- Below 60 percent: you're in good shape
- Above 60 percent: you need intervention
- Wild day-night swings: air circulation is the problem
Record readings monthly. Patterns reveal whether your moisture control strategy works.
Identify common moisture entry points
Moisture enters through specific pathways. Find them before they damage your items.
Common entry points:
- Gaps around the door seal (the biggest culprit)
- Cracks in the floor or walls
- Poor ventilation creating stagnant air pockets
Walk your unit carefully: check walls and floors for discoloration or dampness, run your hand along seals and corners, feel for drafts, and check whether water pools after rain.
Report moisture problems immediately so repairs escalate quickly.
Step 2: Clean and Dry Items Before Packing
This step separates people who lose items from people who protect them. Never store anything damp or dirty.
Moisture clings to dust, dirt, and organic material, creating ideal mold conditions. Clean everything thoroughly before storage.
What to clean:
- Furniture surfaces and undersides
- Electronics and appliances
- Boxes and containers
For most items a dry cloth works; for furniture, use a damp cloth then dry thoroughly; for metal, remove surface rust or residue.
Drying is critical. Let items air dry completely, usually 24-48 hours.
Step 3: How to Pack Items to Prevent Mold and Moisture Damage
Packing strategy matters as much as moisture control equipment.
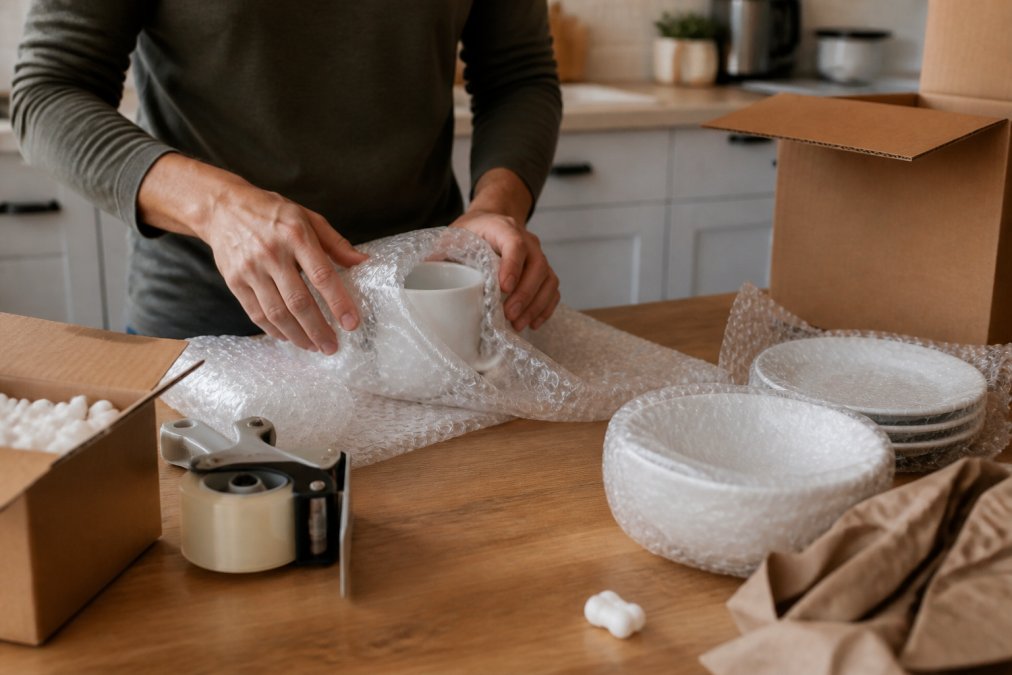
Use breathable packing materials instead of plastic
Most people wrap everything in plastic to "protect" it, but plastic traps moisture and creates a greenhouse effect inside boxes and around furniture.
Don't use:
- Plastic wrap or plastic sheeting
- Plastic storage bags
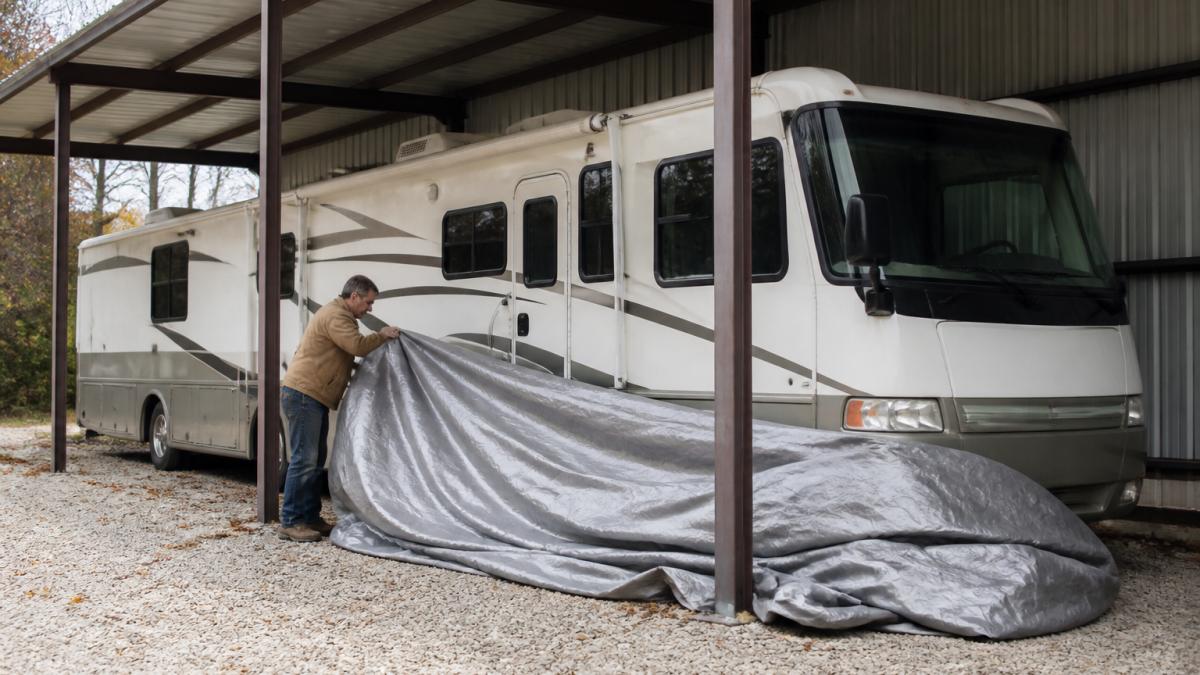
- Plastic tarps
Instead use:
- Kraft paper and cardboard boxes
- Cloth coverings
- Breathable storage bags
Breathable materials let air circulate so moisture escapes instead of accumulating.

Space items for air circulation
Crowded units trap moisture, stagnate air, and spread mold, leave space between items.
Spacing guidelines:
- Leave 6-12 inches between furniture pieces
- Don't stack boxes to the ceiling
- Keep items 6 inches away from walls
Air circulation prevents moisture from settling on any item; stagnant air breeds problems.
Step 4: Choose Moisture Absorbers for Storage Units
Moisture absorbers are your passive defense: they pull water vapor from the air and hold it, lowering relative humidity without electricity. They work only within limits, and only if you match the product to the space and replace it on schedule. Most moisture damage happens because people buy one absorber, set it in a corner, and forget it.
Silica gel vs. calcium chloride: what each actually does
Silica gel adsorbs water vapor onto its surface and works best in small, enclosed volumes, a sealed tote, file box, gun safe, or electronics case, not an open unit.
Calcium chloride absorbs water vapor and dissolves into a brine that drips into a reservoir. A consumer bucket holds a few pounds and collects substantial liquid before replacement, often several weeks to a couple of months in moderate conditions, faster in high humidity.
Trade-offs you should know before you buy:
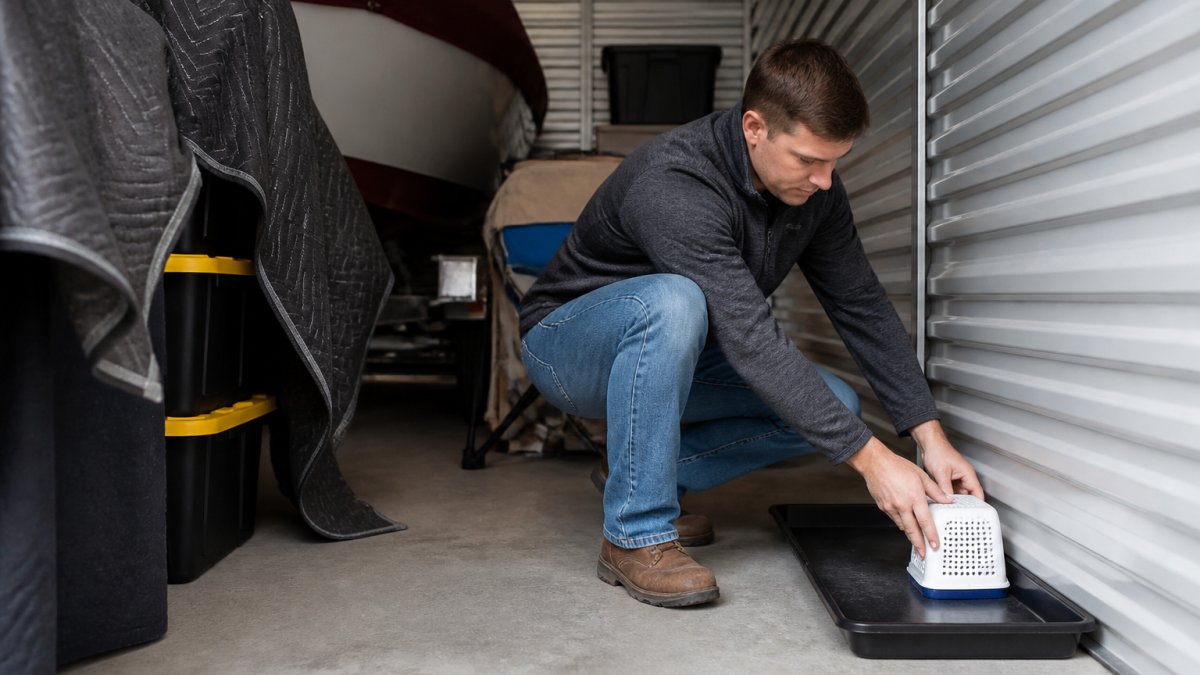
- Calcium chloride brine is corrosive to metal, staining concrete and pitting tools if it leaks. Set buckets on a tray or liner, never directly on or above stored metal.
- Silica gel is non-corrosive and safe around electronics and documents, but capacity is small, use multiple packets per container and reseal after every opening.
- Neither product kills existing mold; they only slow new growth. Treat affected items first.
How many absorbers, and where to place them
There's no single correct count, capacity depends on the product, unit air volume, outdoor humidity, and door traffic. A practical approach:
- Measure your unit: a 5x5x8 is about 200 cubic feet, a 10x10x8 about 800, and a 10x20x8 about 1,600.
- Start with one mid-size calcium chloride bucket per 300-500 cubic feet of open space, adding more if your hygrometer stays above target.
- Place buckets in corners and near the door where air moves slowest, elevated at mid-height, not on the floor where they can be kicked or soaked.
- Keep buckets away from stored items so a tip-over doesn't wick brine into boxes or furniture.
- In sealed containers, use silica gel packets sized to the container, roughly one small packet per cubic foot, but check the label since capacities vary.
Replacement schedule and how to tell when a product is spent
- Silica gel: replace or recharge when the indicator changes color, or every 1-2 months in a sealed container; faster in humid climates.
- Calcium chloride: replace when the solid fully dissolves and the reservoir nears its fill line, every 4-6 weeks in humid conditions, every 2-3 months when drier. Never let it overflow.
- Both: check monthly at minimum, tying replacement to your monthly unit visit.
EPA guidance on mold and moisture control in buildings
Step 5: How to Prevent Mold in a Storage Unit with Dehumidifiers
A dehumidifier is the only tool here that actively removes water vapor continuously. Where absorbers are passive and finite, a dehumidifier keeps pulling moisture as long as it has power and its coils stay above freezing, the right answer when humidity stays above target and passive products can't keep up.
Match the unit to the space and the conditions
Dehumidifiers are rated by pints removed in 24 hours and by the air volume and temperature range they're designed for. Both matter.
- Pint capacity: 20-30 pints/day suits closets and small lockers; 30-50 handles typical residential storage rooms; 50+ is for open areas, basements, and heavy infiltration.
- Air volume: Size for cubic footage, a 10x10x8 is about 800 cubic feet, a 10x20x8 about 1,600. If the unit isn't sealed, size up.
- Temperature range: Most buyers miss this. Refrigerant dehumidifiers lose capacity as air cools and can frost up or shut down below roughly 60°F. Desiccant models work in cold but use more energy and produce warmer exhaust. In an unheated unit hitting the 40s or below, a refrigerant unit underperforms exactly when condensation risk peaks.
Placement, drainage, and operation
- Set it on a level surface in the center of the unit, at least a foot from walls and items, so intake and exhaust stay clear.
- Use continuous drainage via floor drain or routed hose. Hand-emptying tanks is the top reason people abandon dehumidifiers, a mid-size unit can fill its tank in a day or two in humid weather.
- If using the tank, check weekly and never let it sit full; a full tank shuts the unit off and humidity climbs back within hours.
Realistic operating costs
Most consumer dehumidifiers draw roughly 300-700 watts while running, adding a noticeable amount to a monthly bill at typical electricity rates. Expect the higher end in hot, humid climates and the lower end in mild, dry ones. For a small unit holding low-value items, absorbers plus good packing may be more cost-effective.
When a dehumidifier is the right call, and when it is not
Use a dehumidifier if:
- Your hygrometer consistently reads above 60 percent after absorbers are refreshed.
- You store electronics, documents, photographs, instruments, artwork, or leather goods.
- The unit is in a humid climate or has a history of wall and ceiling condensation.
Don't rely on one alone if:
- There's an active leak, standing water, or a failed door seal. Fix the source first; running against an open water path loses ground.
- The unit is unheated and drops below the rated operating temperature. Switch to a desiccant model or climate-controlled storage.
- You can't empty the tank or arrange drainage. A dehumidifier that shuts off is worse than none, giving false protection.
DOE guidance on dehumidifier efficiency and energy use
Step 6: Climate-Controlled Storage for Moisture Protection
Climate-controlled storage is the premium option, maintaining consistent temperature and humidity year-round, the best defense against moisture damage.
These units typically maintain 55-75°F and 30-50 percent humidity, eliminating condensation-causing temperature swings and seasonal humidity spikes that trigger mold.
When to choose climate-controlled storage:
- Storing valuable items like antiques, artwork, or electronics
- Storing items for extended periods (more than 6 months)
- Storing sensitive materials like documents, photos, or books
Out of Site Storage offers climate-controlled units designed for moisture-sensitive items, maintaining optimal conditions automatically so you don't manage dehumidifiers or absorbers manually.
Step 7: Ongoing Monitoring and Maintenance During Storage
Prevention doesn't end when you close the door. Ongoing monitoring catches problems before they become disasters.
Inspection frequency and what to look for
Visit your unit monthly, the best way to catch moisture problems early.
During each visit, check for:
- Musty odors (early sign of mold)
- Visible moisture on walls, floors, or items
- Discoloration or staining on boxes or furniture
Take photos and compare them to previous visits. A slight odor today becomes a serious mold problem in two weeks.
What to do if you notice moisture:
- Increase ventilation immediately
- Replace or empty moisture absorbers
- Move items to improve air circulation
When to escalate moisture concerns with your facility
If moisture persists despite your efforts, the problem may be your facility, escalate.
Contact your storage facility immediately if you notice:
- Water pooling or standing in the unit
- Visible mold or mildew on facility walls or ceiling
- Broken door seals or visible gaps
A professional facility should respond quickly. Document everything with photos and dates for insurance claims.
Frequently Asked Questions
What can I put in my storage unit to keep moisture out?
Use moisture absorbers like silica gel packets, calcium chloride containers, or baking soda to absorb excess humidity. Place dehumidifiers in larger units, and ensure proper air circulation by spacing items apart. Avoid plastic coverings that trap moisture; instead use breathable packing materials. Climate-controlled storage units also help maintain consistent humidity levels and prevent moisture buildup.
How do I prevent mold in a storage unit?
Prevent mold by controlling humidity through moisture absorbers and dehumidifiers, cleaning and drying all items before storage, and maintaining proper air circulation. Avoid plastic coverings that seal in dampness. Check humidity levels regularly, aim for 50% or lower. Inspect your unit monthly for signs of mold or mildew. Climate-controlled storage provides the most reliable protection by regulating both temperature and humidity year-round.
Should I use plastic or breathable covers for items in storage?
Use breathable covers instead of plastic. Plastic traps moisture against items, creating conditions for mold and mildew growth. Breathable materials like cotton sheets, kraft paper, or specialized storage covers allow air circulation while protecting against dust. Reserve plastic only for moisture-sensitive electronics inside sealed containers with desiccants, not as primary wrapping for furniture or clothing.
How often should I check my storage unit for moisture?
Inspect your storage unit at least monthly, or more frequently during humid seasons. Look for signs of moisture buildup, condensation on walls or ceiling, musty odors, or visible mold. If you notice moisture issues, increase ventilation, replace moisture absorbers, and contact your facility management immediately. Regular monitoring helps catch problems early before they damage your belongings.
Moisture damage is preventable. It requires planning, attention, and consistent effort, but it's worth every hour. Follow these seven steps, stay vigilant during storage, and your belongings will emerge in the same condition they went in. At Out of Site Storage, we support this process with clean, well-maintained facilities and 24/7 access so you can monitor your items whenever you need to. Start with a moisture assessment today. Your stored items depend on it.